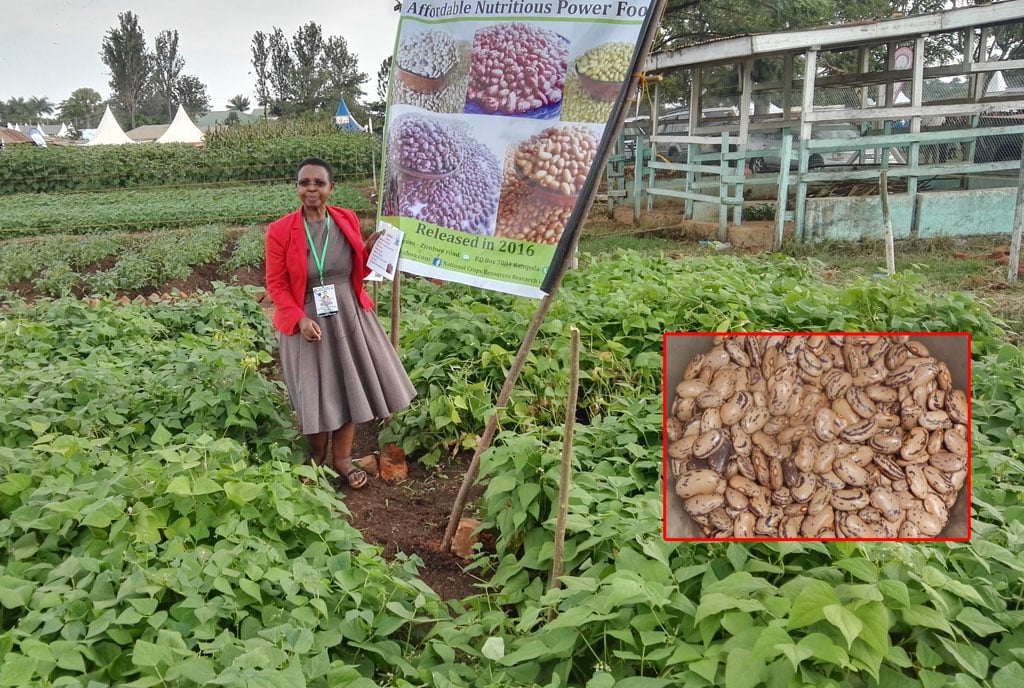
Dr Imelda Kasaija of Naro explains the agronomy of beans. PHOTO/Shabibah Nakirigya
Beans belong to the Leguminosae family. They are considered nutritious vegetables as they contain a high amount of vegetable protein. Pods can be green, yellow, red, or purple, depending on the variety. It is used as a vegetable and eaten as a dried bean or a fresh green bean. Follow these simple steps to get more yield in beans. Let’s check out the top 15 steps to boost beans yield.
Steps to boost beans yield
Step 1: Soil requirement for better bean yield
Beans grow best in slightly acid-neutral soils, with pH between 6 and 7. Clay or silt loams are better for bean production than sandy soils, although good drainage is essential.
Use well-decomposed manure or compost when planting to increase soil organic matter. Please do not use any fertiliser that contains herbicides, as it can kill your vegetable plants.
Although it can be grown on any soil, loams and clay loams are best for higher yields. If you plant beans in the sun, your yield will be better, although they will survive in partial shade at the cost of a smaller crop.
Step 2: Land preparation for good plant growth
Beans require a bold and hard seed coat completed by total essential cultivation such as plowing, harrowing or discing, and planning. A good seedbed requires soft but compact soil, adequate moisture and herbaceous, and pre-harvest plant debris. The acidic soil of the hills should be treated with lime before sowing.
The soil is plowed two to three times with a power tiller or spade to prepare the field. Beans grow well in nutritious soils with good drainage. Properly loosen the soil to break up any clay-like structure.
Beans are nitrogen-fixing plants; they can make the soil more fertile by drawing nitrogen. Just compost your soil, and you will be good to go to the next planting stage.
Step 3: Select high yield varieties
There are many classes and types of Beans available, and a farmer decides based on the growing area (i.e., soil type and climate), production (i.e., growth potential), and markets (i.e., selling places). Some of the high yield varieties are; NAROBEAN 1,2,3,6 & 7 and NABE 19.
Step 4: Tips for making bean plants grow fast
Regardless of their type, growing beans do not require additional fertiliser but require constant irrigation, especially during budding and pod arrangement. Water the bean plants one inch (2.5 cm) per week, depending on the weather conditions. Water in the morning so that the plants can dry out quickly and avoid fungal diseases.
Step 5: Installing trellis for plant development
Plant trails in your ground to support the plant before sowing the seeds if you plan to plant pole beans. Place the trellis exactly where you plan to grow your beans. As the bean plant matures, it will move around the installed trails. Ensure your trails are planted deep in the ground to prevent falling and protect plants from damage.

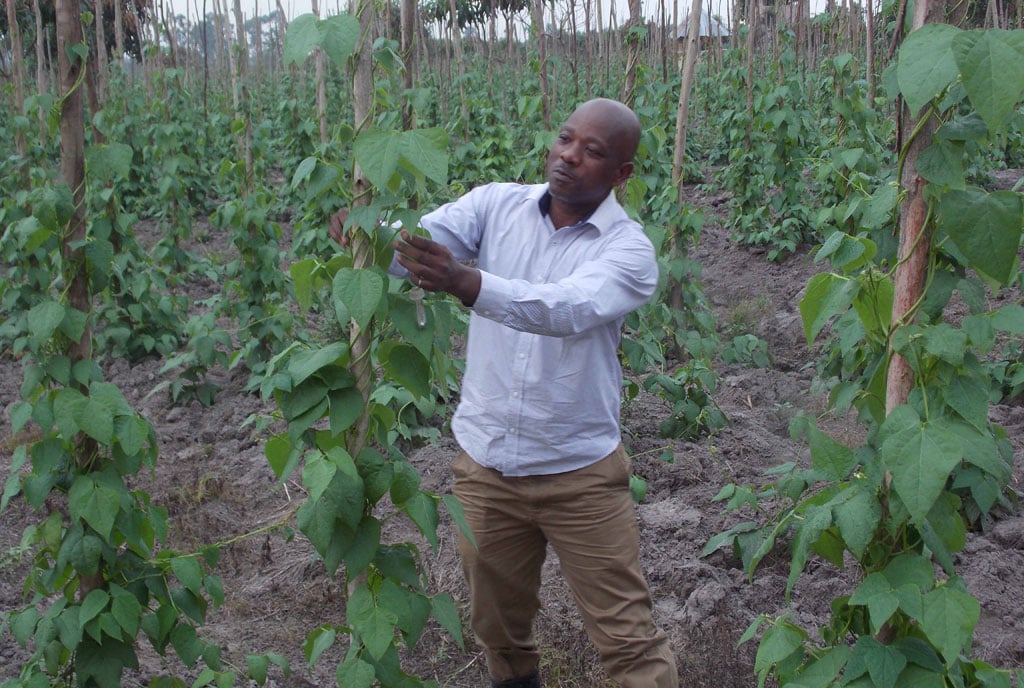
A farmer in Lwengo District inspects unhusked bean plants drying under the sun . pHOTOs/Michael J Ssali
Step 6: Nutrients for good bean formation
Before deciding on the nutritional activity of any crop for your bean crop, it is always advisable to analyze the soil.
Nitrogen production – The main reason beans do not need more nutrients is that they can produce nitrogen. Like all legumes, beans have a symbolic relationship with nitrogen-fixing bacteria. These bacteria form nodules on the roots of bean plants. This process takes some time, especially if you have never grown beans in the area. To speed up nitrogen accuracy, wash bean seeds with bacterial inoculant Rhizobium phaseoli, stimulating bacterial growth.
Phosphorus – Phosphorus mainly helps in the growth of the root system of bean plants. Since beans are not a rich source of many nutrients, a 3-inch compost layer may be all that is needed for the bean plant to grow. However, if the test shows that the soil is deficient in phosphorus, use 5-10-10 fertilisers or add 1 pound of bone meal per 100 square feet for light nutrient intake.
Potassium – Potassium is a helpful player in the growth of bean plants. Although it does not directly affect stem or root growth like phosphorus and nitrogen, it does keep plants healthy enough to support that growth. A light feeding of compost is generally all bean plants need adequate potassium.
Step 7: Tips for optimal plant growth
In addition to good growth nitrogen, phosphorus, and potassium, beans also require small amounts of calcium, manganese, and iron. Your soil may have the right amount of these nutrients, especially if you replace it with compost or manure every year. Beans also need warm soil, constant moisture, and at least six to eight hours of sunlight each day to thrive.
Step 8: Reason for the flowers falling without making pods
Normal early season drop – Most bean plants naturally leave some flowers early in the season. It will pass quickly, and soon, the bean plant will produce pods.
Lack of pollinators – While many beans are fertile, some are not. And fertil plants will produce better if they get some help from the pollinators.
High temperatures – Bean flowers will fall when the temperature is too high (usually above 29 C). Excessive heat makes it difficult for the bean plant to keep itself alive and drop its flowers.
Too much fertiliser – Although piling on the fertiliser may seem like a good idea, it can often cause problems, especially with beans. Bean plants, which are high in nitrogen, have difficulty producing pods. It will also cause the bean plants to produce fewer flowers overall.
Not enough water – As temperatures rise, bean plants that receive very little water are stressed and drop their flowers because they need to focus on keeping the mother plant alive.
Not enough sunlight – Bean plants need five to seven hours to produce beans and eight to 10 hours to produce beans well. Lack of sunlight can be caused by incorrectly locating plants or placing bean plants too close to each other.
Diseases and Insects – Diseases and insects can weaken the Bean plant. Bean plants that have become weak will focus on keeping themselves alive instead of making Beans.

A sample of dry masavu variety beans
Step 9: Controlling weeds for high-quality beans
Frequent, shallow cultivation will eliminate weeds before they become a problem. Bean plants form a deep taproot, but some of their lateral roots are also close to the ground surface, so it is important not to cultivate too deep. Be careful not to damage the plants while planting. A dense stand of bushes will discourage the weed inside the row. Mulching with weed-free grass clippings or other organic matter to a depth of three to four inches can help prevent weed growth, which reduces the need for repetitive cultivation.
Step 10: Pest management for increasing yield
Farmers work hard to manage anything that would reduce the health of their bean plants. Potential enemies of the bean plant include weeds, pests, and diseases.
Farmers use various techniques to control these pests, including crop rotation, tillage, row spacing, and some pesticides and herbicides (if necessary). Some types are designed to be resistant to pests. These varieties are very helpful in growing healthy, high-quality beans with low input. Unfortunately, many types of Beans are affected by the disease.
Step 11: Reasons for bean leaves turn yellow
One of the causes of yellow color leaves in beans is excessive watering. When the soil is wet or not well-drained, plants get absorbed in water, which can cause root rot, leading to yellow leaves. Nitrogen deficiency can also cause your bean leaves to turn yellow. You can apply fertiliser after harvesting and during planting, rotate nitrogen-fixing crops, or use high nitrogen commercial fertilizer.
Diseases like mildew in the soil can ruin your hard work. It can cause your bean leaves to turn yellow as the roots may begin to die. These fungi work well in wet soils. To avoid them, plant your beans in well-drained soil. Bean rust is also caused by fungus. In this case, the plant leaves turn yellow and then fall off. Insects such as aphids can cause yellowing of your leaves and wrinkles on the affected area. Eating aphids on your bean plant is that it stops and therefore causes damage.
Step 12: Harvesting Beans for more production
In general, harvest beans in the morning when their sugar levels are highest. Green beans are young and tender before the seeds are fully developed inside. Pick green beans every day.
The more you choose, the more beans will grow. When your beans are fully grown, but before the seeds are fully formed, now is the time to pick your beans. Wait for the morning dew to dry from the bean plants.
Mulching
Mulching with weed-free grass clippings or other organic matter to a depth of three to four inches can help prevent weed growth, which reduces the need for repetitive cultivation.
Requirement
The best places have full sun (partial shade is tolerated, but this reduces yields), average fertility, well-drained soil (but consistently moist), and good air circulation.